Canon EOS 7D MK II
Canon EOS 60D
Canon 100-400mm IS II USM L series lens for wildlife
Canon 24-105mm L series IS USM lens for everyday use
Canon 17-55mm F/2.8 IS USM lens for wide angle landscapes and low light use
Canon 10-18mm F/4.5 IS STM ultra wide angle lens for landscapes
Speedlite flash unit and a 1m chord for off camera flash (OCF) with ETTL metering capability.
Radio transceivers for OCF
Tripod and cable release for keeping it still
Cokin filters (square) and a holder. Various strengths of graduated neutral density filters are a must for landscape work.
Filters (round screw on), including polarizing, ultra violet and neutral density
Spare batteries and SD Cards
Cleaning cloths and a small blower
LowePro 302 AW camera bag to stash it all in
Beware - the bag gets heavy after an hour or so. Often I cut back to the 'bare essentials' depending on what I'm doing
Opteka MCH-25 camera harness. This is a brilliant piece of kit and makes carrying a camera effortless and takes away neck ache
Small HD video camera with a monopod to hold it on, even in the vehicle. It's extremely difficult to hold it steady with your arms outstretched
Video has a wind suppressor on the microphone
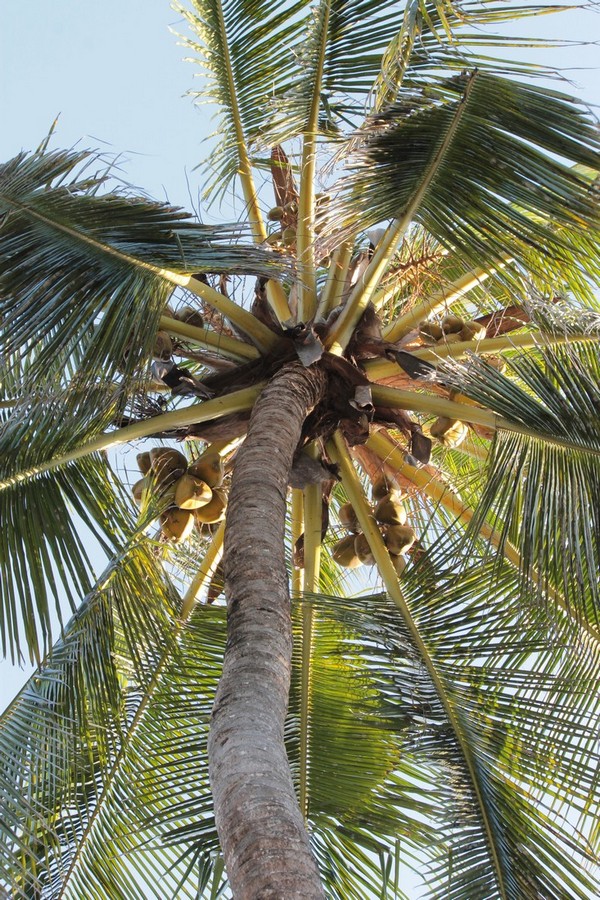
The vertical trunk of the
coconut palm cries out for
the camera to be held in
portrait mode
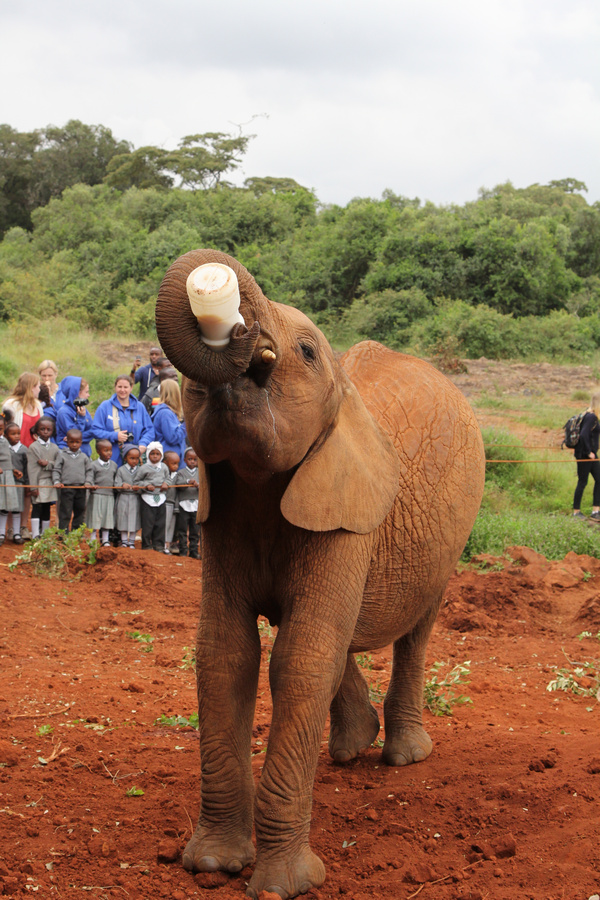
The focal point of this image is the milk bottle, and I have placed it at the intersection of two of the lines that would be formed by a golden section grid
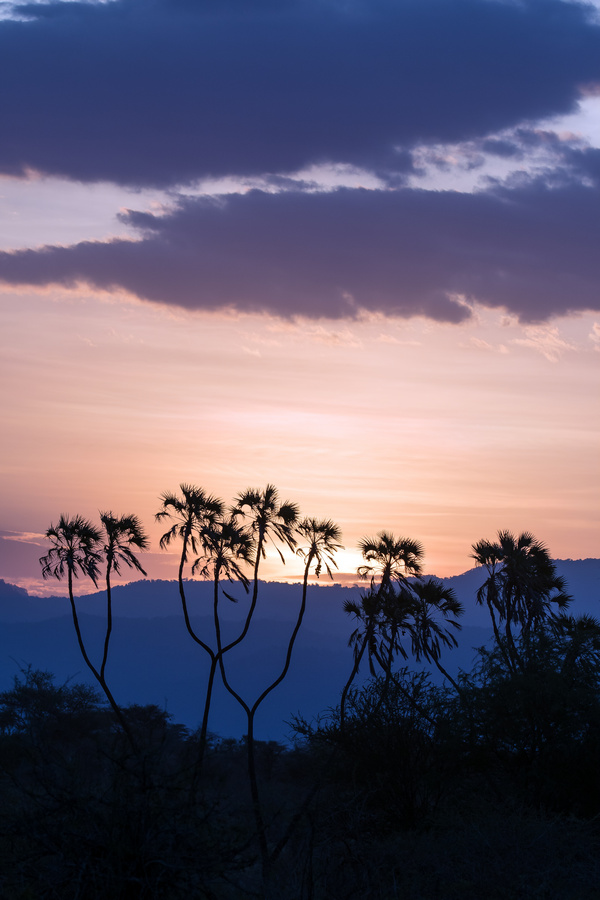
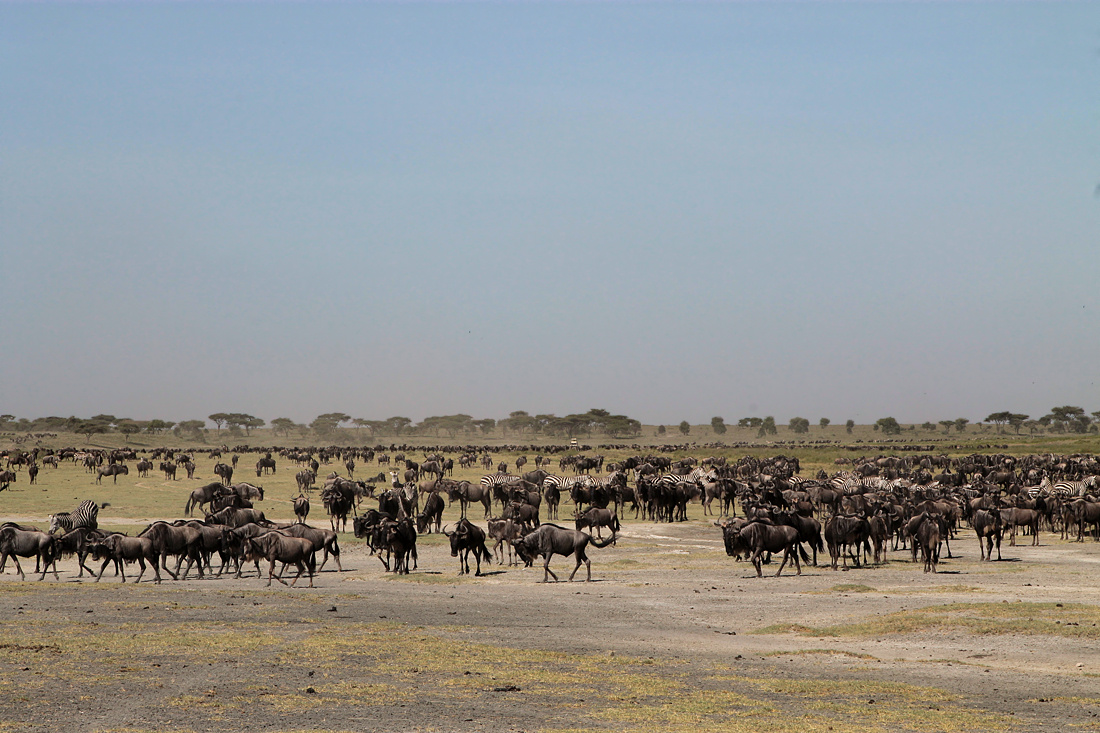
This shot illustrates the rule of thirds in the way the sky and land are divided. Also it uses layering of the background hills to give a sense of depth
The number two problem, IMHO is one of bad composition which can spoil an otherwise perfectly acceptable photograph.
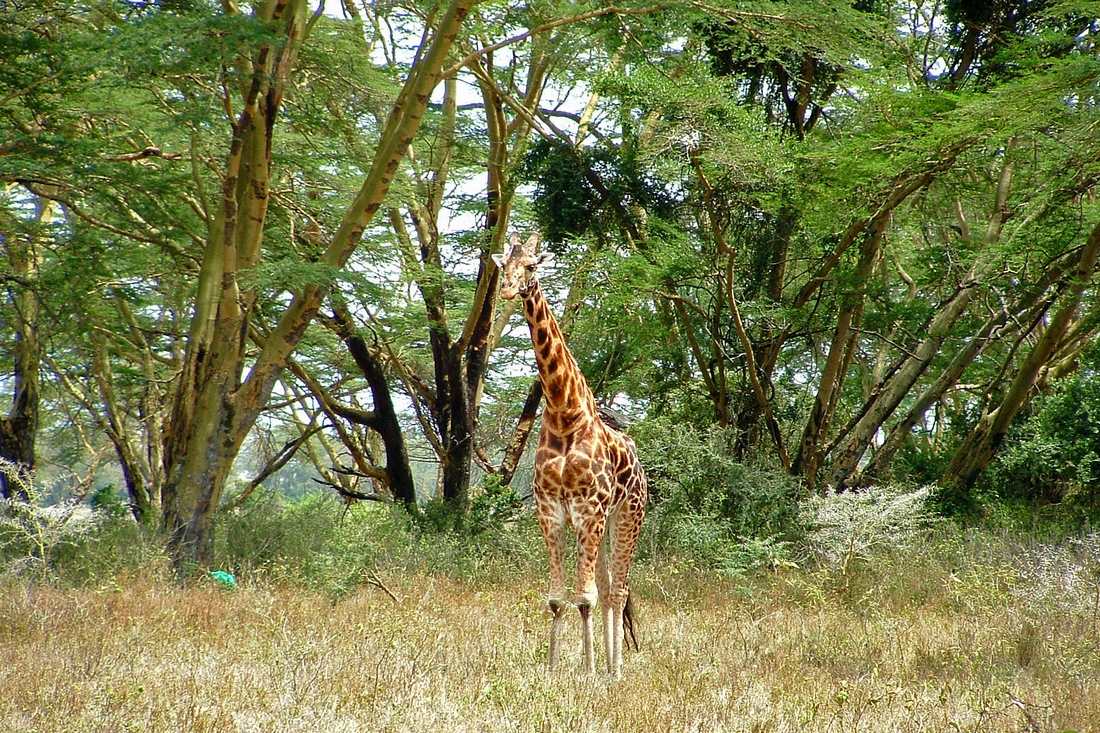
Rothschild's giraffe with blue plastic bag
Check for unwanted clutter before pressing
the button
Ever seen the photo of someone where it looks like a tree or an aerial is growing out of the top of their head?
The first place to start here is with observation. Look around the intended subject. Is there anything unsightly in the frame. I once had a perfectly good picture of a giraffe in Lake Nakuru spoiled by a blue plastic bag that was lying on the ground.
Is the background generally full of unwanted clutter that will distract the viewer from the subject. Maybe you can move the subject, or if not move yourself so that you are taking your photo from a better position. If possible walk or drive around your subject a bit and see if it improves the whole picture by taking it from a different viewpoint.
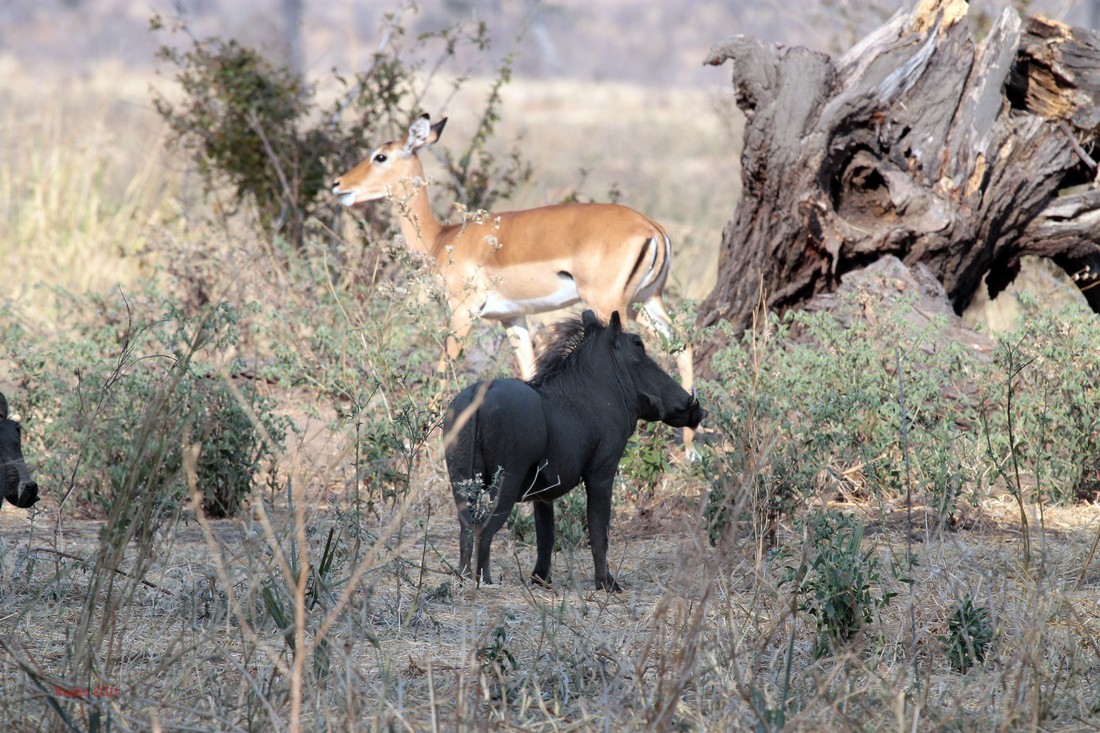
The warthog is in the shade and the impala
in the background is a huge distraction
from the subject. The warthog is also
badly placed and would have been better off
to the left of the frame, facing inwards and I
could have waited for it to move into the sunshine
Are there any horrible lines or colour clashes that just don't look good. If so, can they be avoided. Think contrast. Does the background give a reasonable contrast to the subject to make it stand out.
Would it help to throw the background out of focus to make the subject stand out? This is particularly effective with photos of wildlife and people. You do this by getting your subject as close to the camera as possible and having as much separation between subject and background as possible, and using the biggest aperture on your lens to decrease the depth of field. My page on aperture and exposure attempts to explain this more fully.
Using a wide aperture gives a shallow depth
of field and throws the background out of
focus, making the flowers stand out
Of course you may be trying to show a subject in context with its environment in which case it will need to be kept in focus from front to back and you may need a much smaller aperture if the subject is very close to you and there is a lot of separation between it and the background. The further away the subject is the larger aperture you can use.
Using a narrow aperture gives me maximum
front to back focus
How is the lighting falling on the subject? Awkward side lighting can make exposure difficult. You get one side well lit and the other side will be almost black, with no detail in it, as the tonal range may well be beyond the range of the camera sensor. This would be a good scenario for a little bit of 'fill flash' to lighten up some of the darker tones, if the subject is not too far away. If it's too late for that then you may be able to correct it in Photoshop.
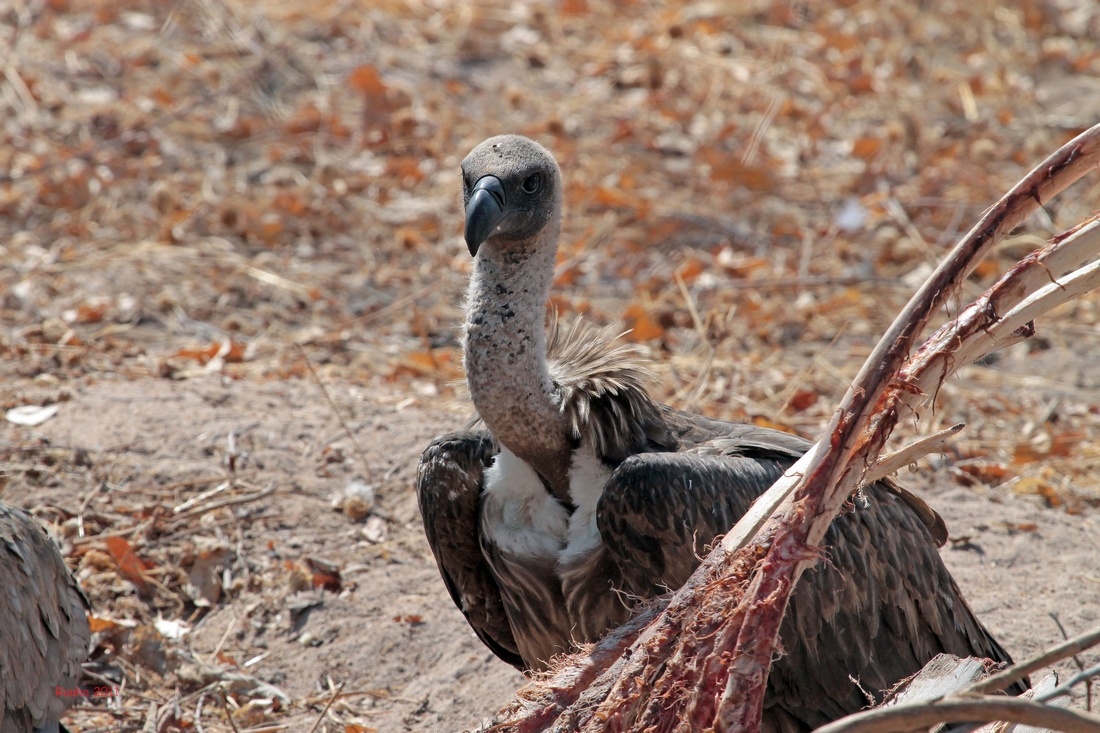
Roll your mouse over this photo to see that
it has been edited in Photoshop to lighten
up the dark tones caused by backlighting
which were ouside the dynamic range of the
sensor. Fill flash could have prevented this
Backlighting can put the subject in shade. Backlit subjects can be improved vastly using fill flash. Assuming of course that the subject is in range of the flash. A classic example of this is when photographing people who are posing in front of a sunset. Your subjects will need some sort of front light ie. from a flash otherwise they will be in silhouette.
A nice overcast day is probably the easiest lighting prospect as the clouds diffuse the light and generally eliminate the harsh shadows of full sunlight.
To avoid your compostition taking on an unwanted tint, check that your white balance setting is appropriate for the lighting conditions.
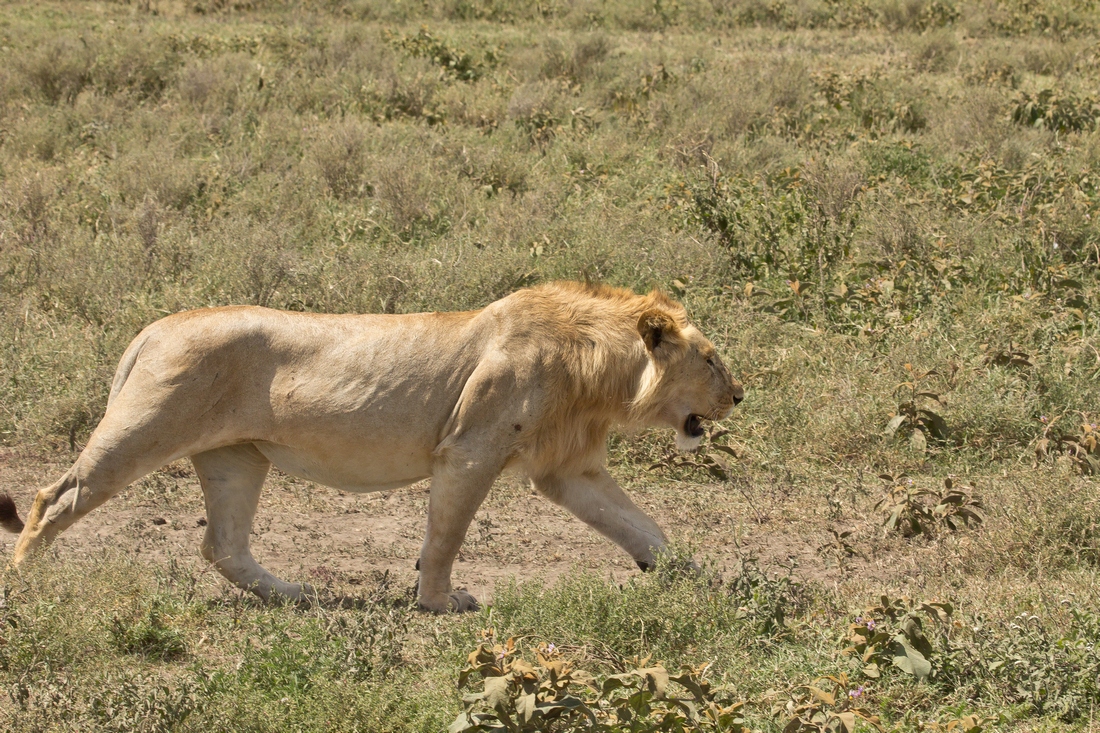
The viewer's eye naturally follows the
lion's direction of travel, so I have left
some room in front of it for the eye to move
into and for the lion to walk towards
Assuming you have got the lighting ok, then where in the photo do you put the subject? For instance if you have taken a shot of an animal walking across the photo then leave a bit of extra space in front of it for the animal to walk into. That's where the viewer's eyes will be drawn and they want to see at least some of where the animal is heading for. This weorks best where you are trying to show some of the environment, or if the animal is moving with purpose.
If, however, you are doing the classic close up portrait of the animal then you can usually place the subject centrally in the picture, but this can sometimes result in a fairly uninteresting image. Placing it off centre often seems to produce an image that is more pleasing to the eye. It's up to you to either frame it as you want it when taking the photograph, or crop it to suit later in post production editing.
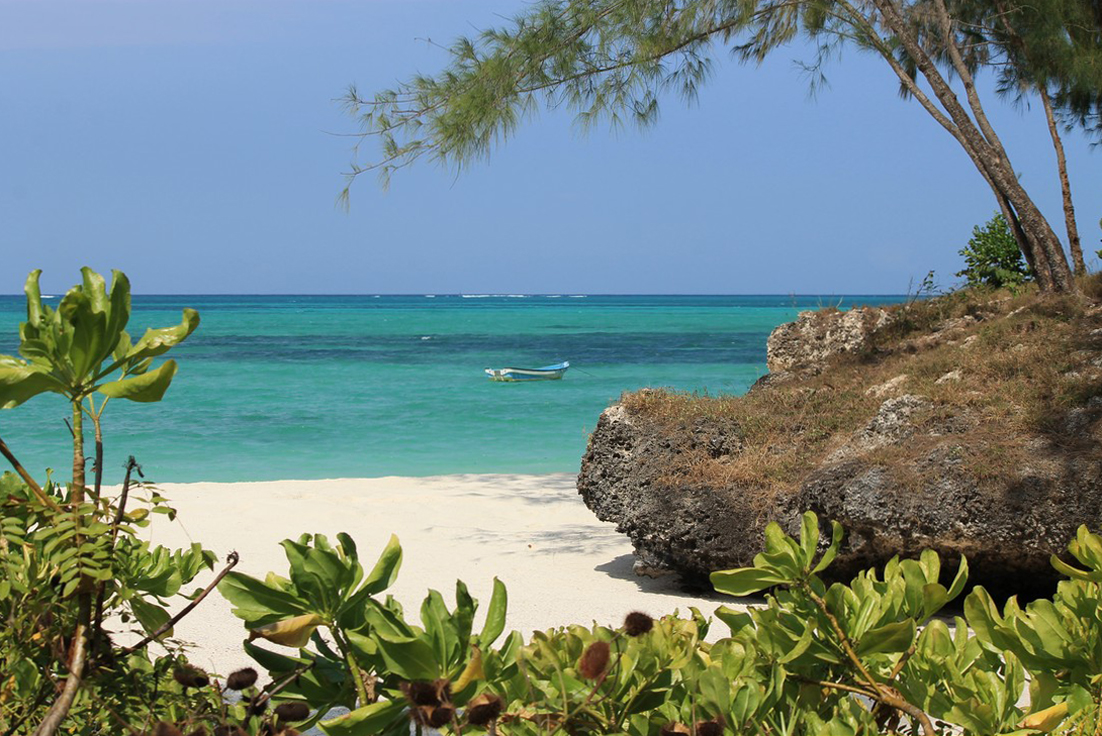
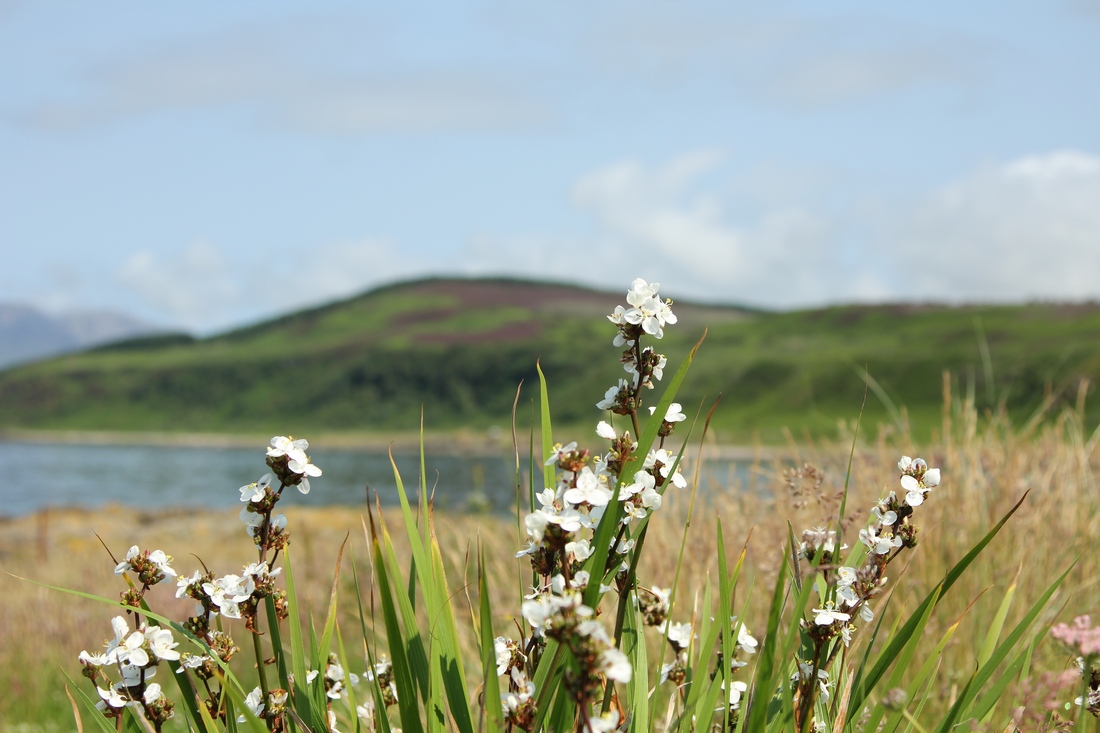
The Rule of Thirds comes into play here, as
does the importance of a level horizon,
especially when water is in the frame.
Vegetation has been used to frame the shot
There is a golden rule called the 'Rule of Thirds' for placement of subjects in a photo. Imagine two vertical lines dividing the photo into thirds and two horizontal lines also dividing it into thirds. Where these lines cross are four good places to place subjects ie. 1/3 way in and 1/3 up etc. Also 1/3 and 2/3 up are good for placing skylines and horizons.
Horizons - and I am guilty of this one - Get them level. Ok so sometimes you can level the picture in Photoshop but it's better to get it right in the camera, as depending on the severity of the adjustment, a lot of the photograph may be lost in the subsequent crop.
Overhanging trees and plants in the foreground can be used to frame the shot.
Following on from the rule of thirds is what is known as the golden section. The golden section employs the golden ratio of 1:1.618 which is a ratio that occurs in nature a lot.
Two numbers are in the golden ratio if the ratio of the sum of the numbers (a+b) divided by the larger number (a) is equal to the ratio of the larger number divided by the smaller number (a/b). ... The golden ratio is sometimes called the "divine proportion," because of its frequency in the natural world.
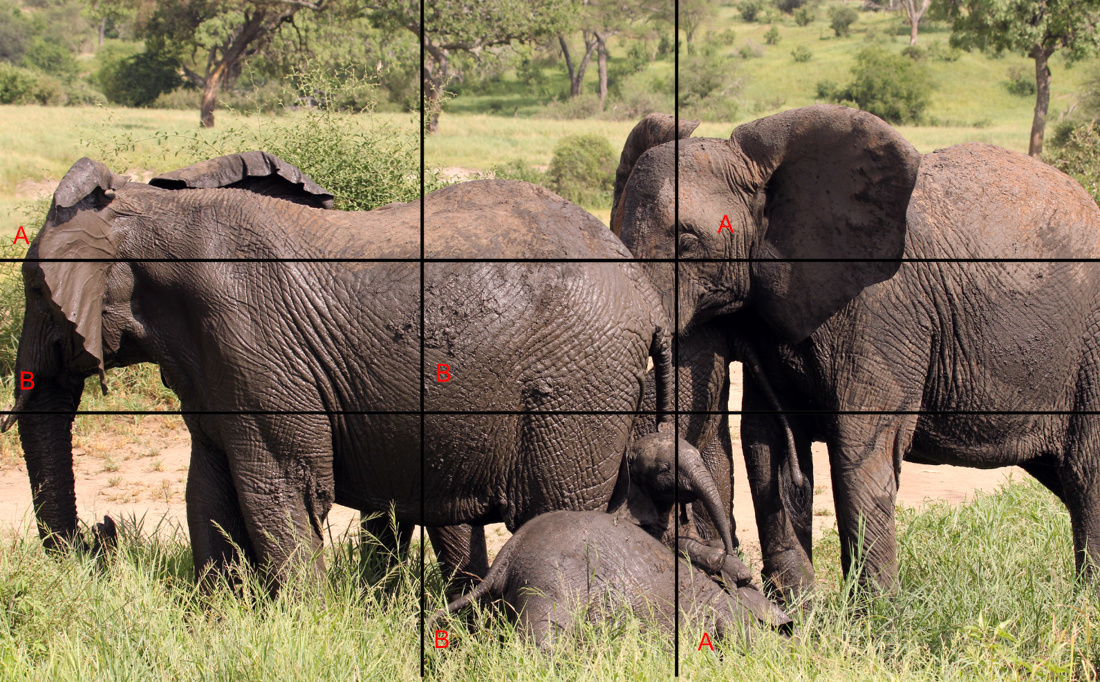
The ratio of the rectangle denoted by A-A-A
to the full size image is 1:1.618. The ratio of
rectangle denoted by B-B-B to A-A-A is also
1:1.618. The resulting grid by applying these
ratios is called the golden section
Human brains seem to react positively to images and objects that contain this proportion. The illustration shows how the picture frame has been subdivided into rectangles with ratio 1:1.618 to each other. You should try and place focal points of interest on the lines and especially where they meet. Very often it is the best place to put the animal's eye on if possible. It probably has more use if you are taking landscapes or environmental shots.
The grid formed by the golden ratio is similar to, but not quite the same as that formed by the rule of thirds
Another oddity - say you are shooting something like wild flowers - odd numbers look better in groups than even numbers. They seem to position themselves in a more natural informal manner.
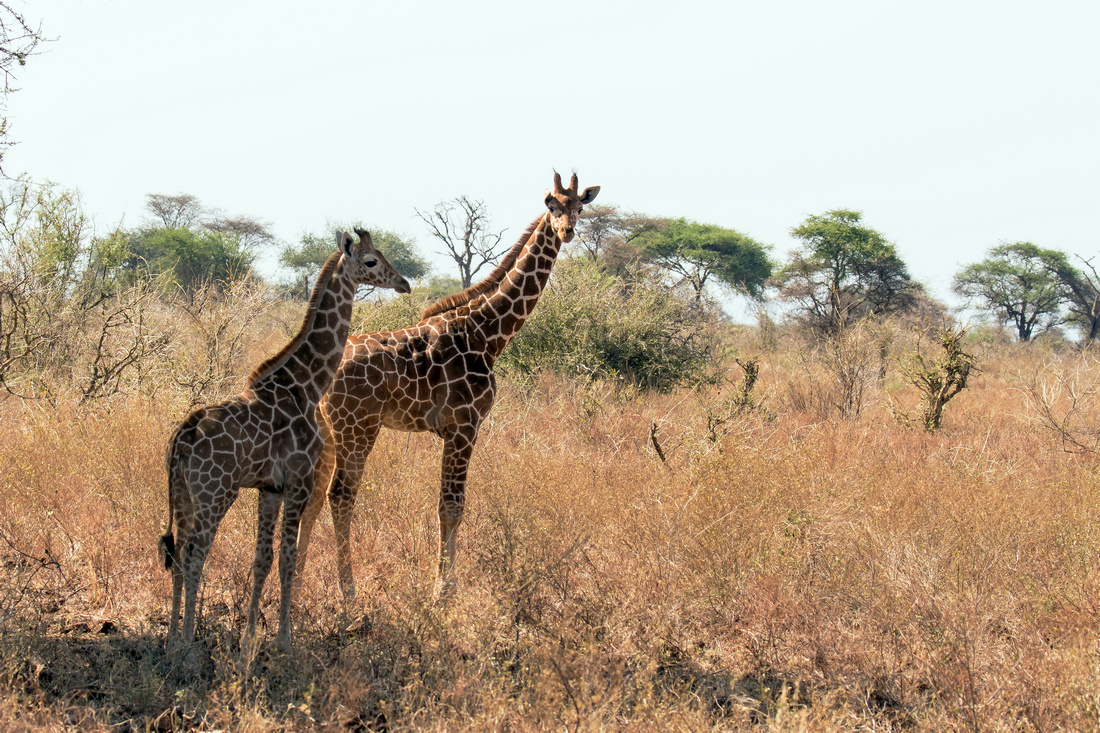
Here I have waited until the two giraffes
have stood together so that the subject
appears as a single object. I've also kept a
lot of the environment in the shot and left
them some space to walk into
If you are are photographing two subjects, e.g a pair of antelope, then it's best to get them as close to each other as possible, or even overlapping slightly so the subject appears a single entity.
Try getting down low when photographing smaller animals or children or plants if you can do so. Obviously don't try jumping out of the car or boat in front of a crocodile to get a bit nearer the ground unless you are a real 'danger junkie'.
When taking landscape type shots it often helps the sense of depth if you can include something, maybe a rock or fallen log, in the front of the photo. If you want everything in focus from right in front of the camera to infinity then a small aperture such as F/16 is needed, unless you have a wide angle lens, in which case a larger aperture will work.

An object in the foreground helps to
emphasize a sense of depth and distance in
the photo. If the object is within around
2m of the camera you would need a small
aperture to get everything in focus.
Ideally I should have picked something like
F/16 but stuck to F/8 because the light
wasn't too bright and I didn't want the
shutter speed to be too slow.
If there is nothing of interest in the immediate foreground then a larger aperture can be used on slightly longer focal length lens, and the upside of this is a faster shutter speed and less camera shake if you are hand held. Checkout focal length and focusing distance for more explanation.
If there are lots of vertical lines then consider taking the photo in portrait mode ie. turning the camera on its end. The picture will compose itself much easier. Use lines in the picture to draw the viewers eye towards the subject if you can.
Keep your eyes peeled for good compositional opportunities. The more you try the easier it gets to decide on a composition that will really work well.